Shopping, Selecting and Storing Broccoli
While broccoli is available all year round, broccoli grows best when daytime temperatures are between 64 and 73ºF, so it’s considered a cold weather crop and would be in season in the USA during the fall and winter.
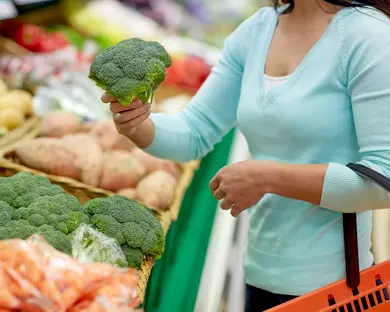
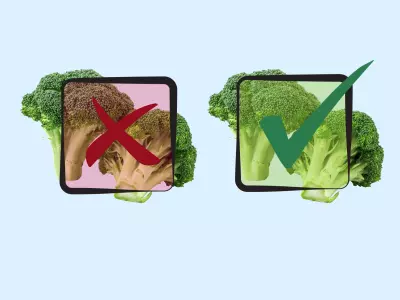
If you can, pick up your broccoli from a local farmers’ market, because the vitamin, mineral, and phytonutrient content will likely be much higher. But, if you can’t do that, you can find it at your grocery store. When selecting broccoli look for heads with tight, green florets and firm stalks. Keep in mind that broccoli has made the EWG’s Clean 15 list for the last few years if you’re on a tight budget and want to opt for conventional over organic.
When you bring it home, don’t wash the broccoli until you are ready to prepare it but instead wrap it in a damp towel and place it in an open container in the fridge. Low temperature and high relative humidity are the most important conditions for maintaining quality. Use it as soon as possible (within 3 to 5 days) because after harvest broccoli starts losing some of its nutritional compounds.
If you aren’t planning to eat it right away, broccoli can also be easily frozen for up to 12 months. Simply, wash and cut into pieces, blanch in boiling water for 1 to 2 minutes to preserve the color and flavor, remove and cool by submerging it in ice water for 5 minutes. Drain and dry completely but quickly using a salad spinner or towel to remove as much excess water as possible. Place in freezer bags and store in the freezer.
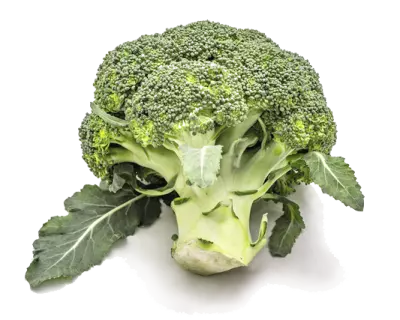
Keep in mind that broccoli has made the EWG’s Clean 15 list for the last few years if you’re on a tight budget and want to opt for conventional over organic.
Alternatively frozen broccoli is available year round at the supermarket. It’s a great option because this broccoli is typically picked at peak ripeness and frozen within 24 hours to minimize nutrient loss. However, keep in mind that compared to raw broccoli, frozen broccoli does have reduced levels of certain nutrients, for example Vitamin C, potassium and B vitamins.
Broccoli Varieties to Explore!
The most familiar variety of broccoli in the US, commonly found at the grocery store, is Calabrese broccoli referred to simply as broccoli, but there are many other varieties of broccoli ranging in color and shape.
For example, Beneforté is a variety of broccoli containing 2-3 times more glucoraphanin and is produced by crossing broccoli with a wild variety of Brassica, while purple-sprouting broccoli is a very cold-hardy heirloom variety that produces multiple small, purplish florets on each plant instead of a single large head. The nutrient profile varies with variety so when you come across different types, give them a try. You may just discover a new favorite and sometimes the different colors and texture might be enough to encourage even the pickiest eater to give broccoli another go!
But wait, there’s more! Different vegetables within Brassica oleracea readily hybridize leading to new species. For example, broccolini is a cross-breed of broccoli and Chinese broccoli. It is similar to broccoli but with smaller florets and longer, thin stalks and is also high in vitamin C, vitamin A and fiber. Broccoflower is a cross between broccoli and cauliflower. There are two types, one looks like cauliflower but is green in color while the other, known as Romanesco broccoli, is chartreuse in color and the head forms fractal patterns. It is high in vitamin C, sodium, B vitamins and fiber. Try serving this up at your next dinner for some “wow” factor!
Here’s some broccoli varieties to try:
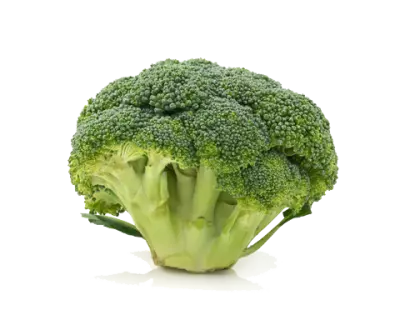
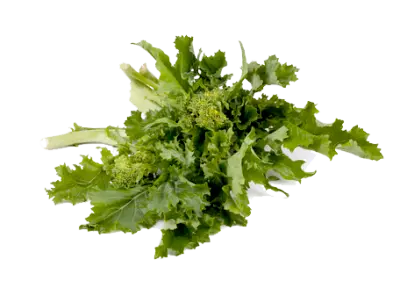
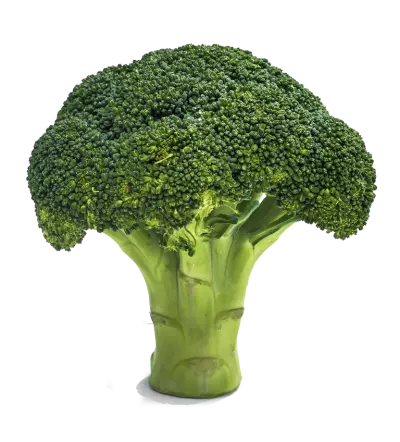
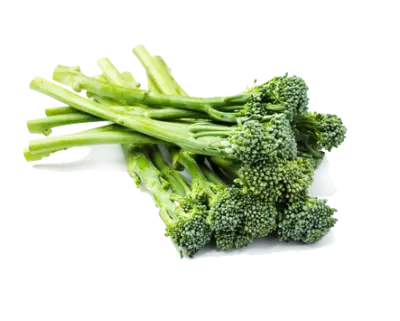

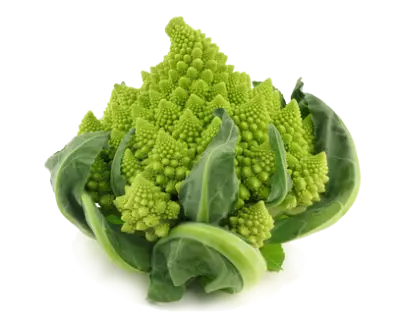
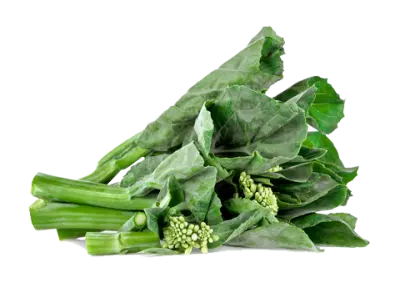
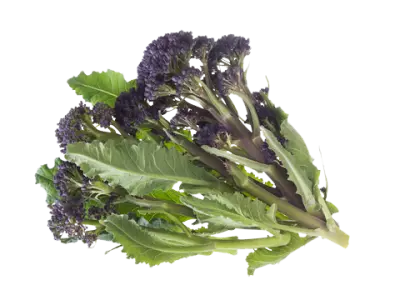
The nutrient profile varies with broccoli variety so when you come across different types, give them a try.
Grow Your Own Broccoli and Broccoli Sprouts
Broccoli should be planted in early spring or mid to late summer for best results since it is a slow grower and can take 3 months or more from seed to harvest. It likes daytime temperatures in the 60s and can tolerate light frost and temps down to the 20s. Broccoli requires moderately acidic to neutral soil to thrive (pH 6.0-7.0) and needs full sun, at least 4-5 hours per day. It is best to start plants in small containers and then transplant when they have three or four true leaves. Broccoli plants get large so be sure to provide plenty of growing room.
Also, keep in mind that broccoli is one of many plants that emit allelolchemicals that may negatively affect other plants and future plantings. Specifically, broccoli residue has been shown to interfere with growth of other cruciferous crops that follow, so space out the rotations.
Broccoli is ready for the first harvest when heads have formed and are a deep green. Don’t wait too long to harvest because when florets start to turn yellow, this is a sign that they’re beginning to flower and are past their peak.
To harvest use a sharp knife to cut the stem an inch or two below the head. After the first harvest, most varieties will continue to develop smaller side shoots that are also good to harvest. These side shoots will be in plentiful supply for as long as you keep cutting them. Lastly, if you don’t have a vegetable garden, don’t worry, broccoli can be grown on your patio or balcony in containers. Just drill a few holes in a large five-gallon bucket and give it a try.
Finally, don’t forget broccoli sprouts, which are the first green shoots to emerge once a broccoli seed has germinated and contain higher levels of glucoraphins as compared to the mature plant. Broccoli sprouts are available to purchase but can easily be grown at home from seeds.
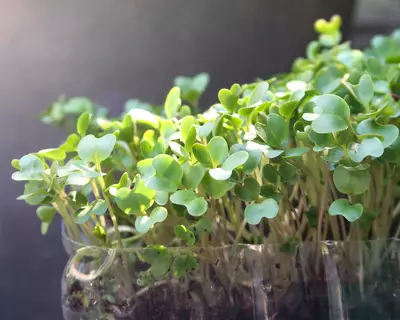
To do this:
- Soak the seeds in filtered water in a slightly warm, dark place for 8-12 hours so they can begin to sprout. This can be done in a wide mouth mason jar with a sprouting lid.
- After soaking, drain off the water and rinse with fresh water.
- Rest the mason jar upside down at an angle so that any remaining water can drain. Keep the jar in a mostly dark place during this time.
- Rinse the sprouts 2 to 3 times each day and place back upside-down after each rinse so they can drain.
- After a few days, the seeds should start to break open and grow. Keep rinsing and keep the seeds in a darkish place until they have sprouts about an inch long (they will be yellow in color). At this point, they can tolerate some indirect sunlight or low light exposure.
- Once you see some dark green leaves, usually 3-4 days after the seed starts to sprout, the seeds can be eaten.
- To store the sprouts, allow any remaining moisture to drain off, transfer to an airtight container and place in the refrigerator for up to a few weeks, though best to eat sooner rather than later.
Sprouts are best eaten raw to preserve their health benefits and can be added to recipes, likes salads, to add an extra crunch.
The Best Cooking Methods for Broccoli
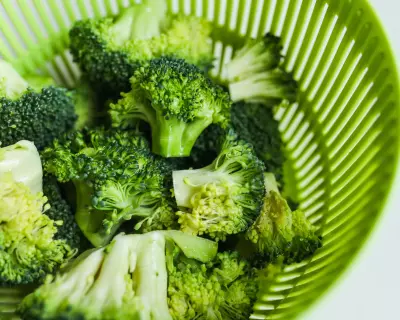
The way you prepare and cook your broccoli impacts its nutrient profile. For example, something as simple as chopping broccoli into small pieces and waiting for 90 minutes before cooking allows more time for glucosinolates to be hydrolyzed by myrosinase into the active health-promoting isothiocyanates (in one study the total isothiocyanates increased by 133%!).
Broccoli is a versatile vegetable and can be prepared in many different ways such as roasting, steaming, stir-frying, boiling or eaten raw. Studies have shown that steaming broccoli results in the best retention of nutrients with respect to chlorophyll content, total soluble sugars and proteins, vitamin C and glucosinolates, while total carotenoids were equivalent across steaming, microwaving and stir-frying. In general, nutrient levels decrease the most in cooking methods where they can be leached into surrounding water, for example boiling. Keep in mind that, when compared to raw broccoli, decreases in several nutrients were observed across all cooking methods tested. For isothiocyanates, this is likely because myrosinase is heat-sensitive and becomes deactivated when broccoli is cooked above 60°C (140 °F). Interestingly, the addition of mustard seed powder (2%) to cooked broccoli significantly increased levels of sulforaphane (3- to 5-fold), as mustard seed contains a thermally resistant myrosinase.
Bottom line, including broccoli in your diet in any form is good for you but if you want to maximize its nutrients opt for lightly steaming or eating broccoli raw.
What if you Hate Broccoli?
If you’re reading about the benefits of broccoli, nodding along but all the while anticipating more information on how to prepare it so that it isn’t absolutely disgusting, you just might be a bitter supertaster!
If you’re reading about the benefits of this cruciferous veggie, nodding along but all the while anticipating more information on how to prepare it so that it isn’t absolutely disgusting, you just might be a bitter supertaster! The glucosinolates in crucifers chemically resemble phenylthiocarbamide (PTC), an organic molecule with the very unusual property that it either tastes very bitter or is virtually tasteless depending on which variant of a taste receptor gene, called hTAS2R38, you have!

On average, about 70% of us can detect a bitter taste in cruciferous vegetables, but those of us with two copies of the bitter sensitivity gene (called the PAV/PAV haplotype) are much more likely to hate them, eat fewer vegetables in general, and gravitate towards sweet treats!
If you are one of the unfortunate individuals, genetically predisposed to disliking crucifers, try experimenting with different methods of cooking – for example, roasting as opposed to boiling may completely change the enjoyment you get from eating these veggies! Or you could try blanching before cooking to leach out some of the bitter compounds. To do this, bring water to a boil in a large pot. Add your veggies to the pot and cook for one to two minutes. Immediately transfer to ice water. It’s true thaht your choice of cooking method will have an impact on nutritional content and you may lose some of the nutrients but perhaps you may need to compromise on nutrients for taste. In the end, including this veggie in your diet in any form is a worthy addition – eating crucifers with less nutrients is better than not eating any at all!
You might also find that balancing the bitterness with some astringency or acidity, such as tossing with lemon juice or a vinaigrette, may help too.
And, if all else fails studies have shown the best way to increase your penchant for a bitter veggie you dislike is to pair it with one of your favorite foods or with a dip or dressing that you do like. In no time at all, you may be looking forward to eating the nutrient dense veggie you once hated!


