Table of Contents[Hide][Show]
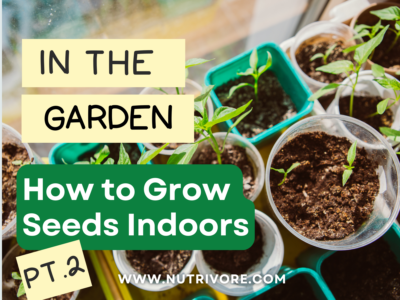
How to Grow Seeds Indoors Part 1: The Shopping List
1. Seeds
Selecting seeds based on taste, climate, space, and sustainability.
The springtime seed catalogs from my region’s suppliers arrive and I can’t believe the scope and varieties available: nearly one thousand types of vegetable seeds. How to choose? I decide to rank the list by these criteria:
1. Do we enjoy eating them?
2. Can the plant reach maturity within my microclimate’s growing season? *
3. Does the adult plant take up a ton of space?
4. Are the seeds open-pollinated? **
5. Does the plant have a great Nutrivore score?
*Plants grow at night. Optimal growing temperature for most vegetables is over 50oF at night. I have a Mediterranean-type climate, with low temperatures ranging from 33°F in December to 50°F in August. Plant survival (avoiding frostbite) depends on the Hardiness Zones. But whether plants can thrive depends on overnight temperatures.
**Gardeners can save seeds from open-pollinated plants to use in the next growing season, unlike hybrid seeds, which are bred for specific traits, but not useful for seed saving. Hybrid seeds bred for disease resistance may be advisable if the plants are at risk.
2. Seed Storage Container
Proper storage preserves seed vitality and boosts your gardening success.
Seeds live one to six years. How they are stored makes a difference—they need to be kept cold and dry. When my seeds arrive, I read the instructions on each packet and take notes so that I can maximize my chances for success. I alphabetize them into a sealed plastic box with repurposed desiccant packets and keep them in my refrigerator.
3. Growing Containers
From trays to repurposed items, choosing containers that promote healthy seedlings.
Seeds can be started in just about any type of container from toilet paper tubes to peat pots. I use seed trays with covers and liners to maximize the space under the lights and keep the soil moist for germination. Since I am reusing seed trays I used last year, I immerse them in a solution of 9 parts water to 1 part bleach to sterilize them. When I up-pot, I use small, paper bathroom cups for greens and larger drinking cups for tomatoes, squash, cucumbers and peppers. I use a small hand drill to make holes in the bottom for drainage, setting a stack of them on the table upside down and drilling through a dozen or so at a time. When transplanting, I cut the sides with scissors rather than scooping them out to avoid damaging delicate roots.
4. Seed-Starting Mix
Giving seedlings the best possible start by choosing the ideal growing medium.
I invest in quality seed-starting mix, purchasing it from a recommended nursery. Seed-starting mix is not potting soil. It’s light and fluffy, with a wonderful capacity for absorbing water, and lacks nutrients.
5. Potting Soil
A seed is a plant with a lunch box.
Seedlings eat out of their own lunch boxes (endosperms) to sprout and grow their seed leaves (cotyledons). But as the second set of leaves, the true leaves, start to grow, plants will need food. I up-pot the seedlings from the seed trays into individual containers filled with quality potting soil.
6. Spray Bottle
Keeping your seedlings properly hydrated without overwatering.
I keep a spray bottle handy to spritz the top of the soil until the seed sprouts. Gentle watering is needed until seeds anchor their roots in the soil. Once seedlings appear, I stop using the spray bottle. I will pour water in the liner and set the seed tray or individual containers in it to soak for 15 minutes. This will keep the top of the soil dry and roots moist.
7. Lights and Shelving
Providing seedlings with the right amount and type of light.
Seedlings need up to but not more than 16 hours of light per day. Lights should hang directly above the plants and close enough to avoid spindly stems. I use 4-ft 5000K full spectrum T8 LED grow lights. I hang them on garage metal shelving (48” L x 24” W x 72” H).
Kelvin is a color measurement. 4000K to 6500K is blue or cool light for leafy growth. 2500K to 3500K is red or warm light for stem, flower and fruit growth.
8. Fan
Using fans to build seedling resilience and prevent disease.
I will keep a small fan oscillating across the seeds for several hours a day. This helps prevent moss and fungal growth and makes the plant work as it reaches for the light, which prepares seedlings for the real world when they will contend with outdoor conditions.
9. Heating Pad
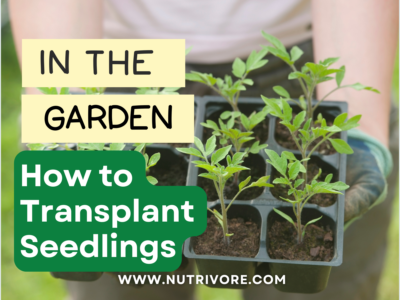
Transplanting seedlings at the right moment for healthy, robust plants.
If the seed needs a warm medium, I preheat the filled seed trays on a heat mat overnight before planting the pre-sprouted seeds. Because I am growing seeds in an unheated garage, I keep warm season vegetables on the heat mat until the true leaves (the second set of leaves) appear.
10. Embracing the Journey
Gardening is about experimentation, patience, and allowing yourself to learn through each season.
Growing my own seedlings requires shop lights, heating pads, fans, garage shelving and potting supplies, but I believe it’s an investment worth making. I can select from a greater variety of seeds. I can time planting so that seedlings are at the appropriate stage of growth when my microclimate is ready to receive them. Since I’m saving money by starting with seeds rather than buying seedlings, I can afford to give my vegetables a healthy head-start before they contend with outdoor conditions and pests.
As I attempt to grow a larger quantity and variety of seedlings, I’m also giving myself permission to fail, learn and try again.
Gardening Tips
If you’re looking for more gardening tips check out these posts!